
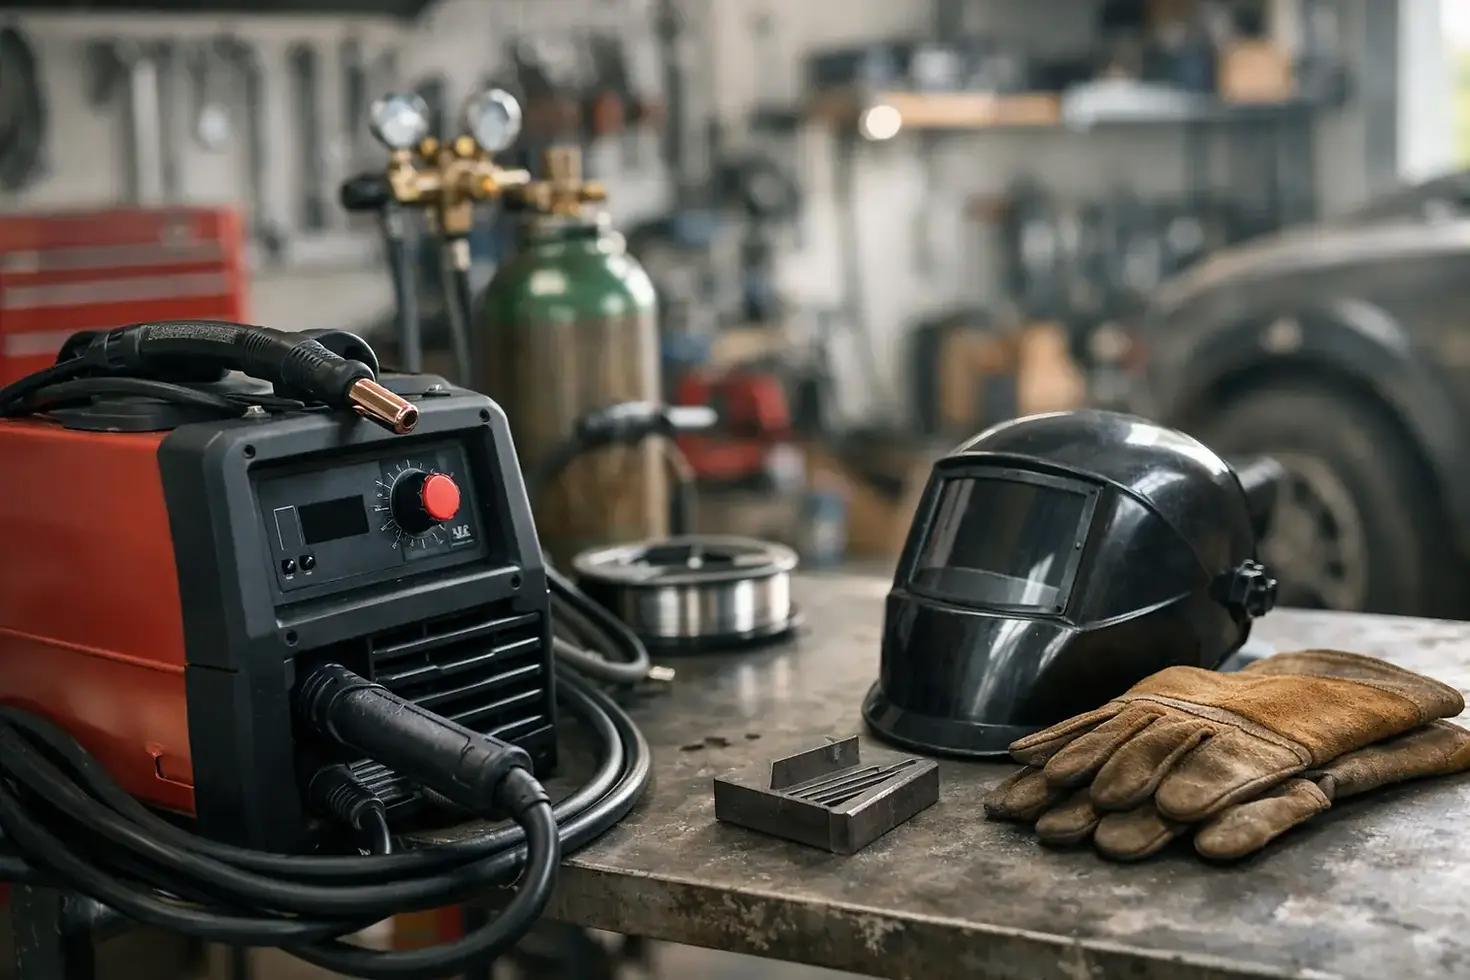
Choosing a 180 Amp MIG Welder for Your Garage
- ERIC GIROUX
- Jul 31
- 6 min read

A floor pan patch can be ruined quickly by a welder that is either underpowered for the job or too hard to control on thin sheet metal. A 180 amp mig welder sits in a useful middle ground for automotive builders: enough output for meaningful fabrication, with the adjustability needed for restoration work where clean, controlled welds matter.
For a home garage, restoration shop, or race car project, this class of machine is often the point where a welder stops being a light-duty repair tool and becomes a versatile fabrication asset. The right choice still depends on your electrical supply, the metals you plan to weld, and how often the machine will be pushed near its maximum output.
What a 180 Amp MIG Welder Can Handle
A 180-amp machine is a strong fit for the work most vehicle builders actually encounter. With proper setup, it can handle thin automotive sheet metal, brackets, roll cage components, frame repairs within appropriate repair procedures, trailer work, and heavier fabricated parts. It is a practical range for welding mild steel from thin body panels into thicker material used for mounts, crossmembers, and shop fixtures. https://www.eastwoodcanada.com/product-page/eastwood-canada-180-amp-mig-welder-with-included-spool-gun-33990?currency=CAD
The important qualifier is that amperage alone does not tell the entire story. Steel thickness, joint design, wire diameter, shielding gas, welding position, and heat management all affect the result. A welder rated at 180 amps may have the power for thicker material, but that does not mean every thick structural repair should be approached casually. Critical chassis and suspension work requires sound preparation, correct welding procedure, and an honest assessment of the repair.
For restoration work, the low end of the output range is every bit as valuable as the top end. Thin exterior panels, wheelhouses, trunk floors, and lower-quarter repairs demand stable low-amp performance. If the machine cannot produce a smooth, controllable arc at low settings, you will spend too much time chasing burn-through and distortion.
The sweet spot for automotive steel
Most automotive MIG welding involves mild steel. A standard solid wire and shielding-gas setup gives a clean, predictable weld that is easier to finish before filler, primer, seam sealer, or paint. For bodywork, .023-inch wire is commonly preferred because it allows lower heat input and better control on thin sheet metal. For heavier brackets and fabrication, .030-inch wire is a versatile general-purpose choice. Some projects justify .035-inch wire, but it is not automatically better for every job.
A 180-amp unit gives you room to move between these jobs without buying separate machines. That flexibility makes it a sensible choice for builders who may start with rust repair, then move on to an engine swap, custom exhaust hangers, a workbench, or track-day upgrades.
Choose Input Power Before You Choose Features
Before comparing controls, accessories, or advertised thickness ratings, look at the power available in your garage. Many 180-amp MIG welders are designed for 240-volt input. That is usually a benefit, not a drawback. A 240-volt machine can deliver more usable welding power with less strain than a comparable 120-volt unit, and it is better suited to repeated fabrication work.
Confirm that your panel has capacity for a dedicated circuit, and have the correct receptacle installed if needed. Avoid treating an extension cord as a permanent solution. If one is necessary, use a heavy-gauge cord sized for welding equipment and keep it as short as practical. Voltage drop can make an otherwise capable machine perform poorly.
Some machines offer multi-voltage input, which can be useful when portability matters. A builder may use 240 volts in the garage but want the option to perform lighter repairs where only 120-volt power is available. That convenience comes with a trade-off: maximum output and duty cycle can change depending on the input voltage. Read the specifications for both operating modes rather than assuming the performance is identical. https://www.eastwoodcanada.com/product-page/eastwood-canada-180-amp-mig-welder-33980-tig-gun-dual-power?currency=CAD
Duty cycle matters when the job gets bigger
Duty cycle describes how long a welder can operate at a stated output during a fixed period before it needs to cool. It may sound like a technical footnote until you are welding a long bracket, building a cart, or working through a series of suspension mounts.
For occasional sheet-metal tacks, almost any reasonable duty cycle is workable because you are naturally stopping to fit panels, check alignment, and manage heat. For heavier fabrication, a better duty cycle means fewer interruptions and more consistent progress. Compare duty cycle at a realistic output, not only at the machine's highest advertised amperage.
A machine with a slightly lower top-end number but good duty-cycle performance, a dependable wire drive, and easy voltage adjustment can be the better garage welder. Buy for the work you will do regularly, not for a single maximum-number comparison.
Features That Make Welding Easier
https://www.eastwoodcanada.com/product-page/eastwood-canada-products-250-amp-mig-welder-33930?currency=CAD
A capable MIG welder should make setup repeatable. The goal is not more knobs for the sake of it. The goal is being able to match the machine to the material and return to a successful setting when the next repair comes along.
Infinite voltage and wire-speed controls provide more adjustment than fixed tap settings, which can be helpful when dialing in thin panels or changing joint fit-up. Fixed settings can still work well, especially when the machine has sensible ranges and a clear setup chart. What matters is whether you can establish a stable arc without constant compromise.
Pay close attention to the wire-feed system. Consistent wire feeding is central to good MIG welding. A solid drive mechanism, accessible spool compartment, quality torch, and readily available consumables will matter long after the initial purchase. A poor feed path can create sputtering, birdnesting, and frustrating starts that are often mistaken for a settings problem.
Also consider these practical details before committing to a machine:
A proper regulator and gas hose for running shielding gas.
A torch lead long enough to reach around a vehicle without repeatedly moving the welder.
A sturdy ground clamp with clean, positive contact.
Clear polarity instructions for solid wire and flux-core wire.
Consumables that are easy to identify and replace in your shop.
Flux-core capability is useful for outdoor repairs and situations where wind makes gas shielding difficult. It can also be convenient when portability is the priority. For indoor automotive sheet-metal work, however, solid wire with shielding gas is generally the cleaner choice. It produces less cleanup and gives better control for welds that will be visible after finishing. https://www.eastwoodcanada.com/product-page/eastwood-mp250i-multi-process-250-amp-welder-mig-tig-arc-54500?currency=CAD
Aluminum, Stainless, and the Limits of Versatility
Many builders want one welder that will handle every material. A 180-amp MIG unit can be versatile, but aluminum and stainless steel should be treated as separate decisions rather than bonus features.
Aluminum MIG welding often benefits from a spool gun, which places the wire spool close to the torch and reduces feeding problems with soft aluminum wire. Check whether the welder supports a compatible spool gun and whether its output is appropriate for the aluminum thickness you intend to weld. Thin aluminum can be demanding, while thicker aluminum requires more heat than many first-time buyers expect.
Stainless steel can be MIG welded with the correct wire and shielding gas, but appearance, corrosion resistance, and application requirements should guide the process. For certain precision stainless jobs, TIG may be the better choice. A MIG welder is not less valuable because it has limits. It is more valuable when you understand where it performs best. https://www.eastwoodcanada.com/product-page/eastwood-elite-tig-225-ac-dc-digital-tig-welder?currency=CAD
Getting Better Results From Day One
Good welding starts before the trigger is pulled. Remove rust, paint, undercoating, oil, and contamination from the weld zone. Fit the panels or parts closely. Poor gaps force you to add filler metal and heat, which increases the chance of distortion on thin steel.
For body panels, use tack welds spaced around the repair rather than trying to run a continuous bead. Move around the panel, allowing each area to cool. This takes longer than rushing a bead, but it saves time spent correcting warped sheet metal. A clean patch with controlled heat is easier to grind, seal, prime, and finish.
Set aside scrap from the same material thickness and make test welds first. Adjust voltage and wire speed until the arc sounds steady and the weld shows proper fusion without excessive spatter. Then cut or bend the test piece when possible. A weld that looks acceptable on the surface is not always penetrating correctly.
At Eastwood Canada, the focus is on equipping builders for the full restoration workflow, from metal repair and fabrication through corrosion protection and finishing. A welder belongs in that workflow when it gives you enough power for the parts you build and enough control for the metal you are trying to save.
The best 180-amp MIG welder is not necessarily the one with the longest feature list. It is the machine that matches your electrical service, supports the wire and gas setup you will actually use, and lets you make clean welds with confidence. Set it up properly, practice on scrap, and it will earn its place in the garage long before the next project arrives.


Comments