
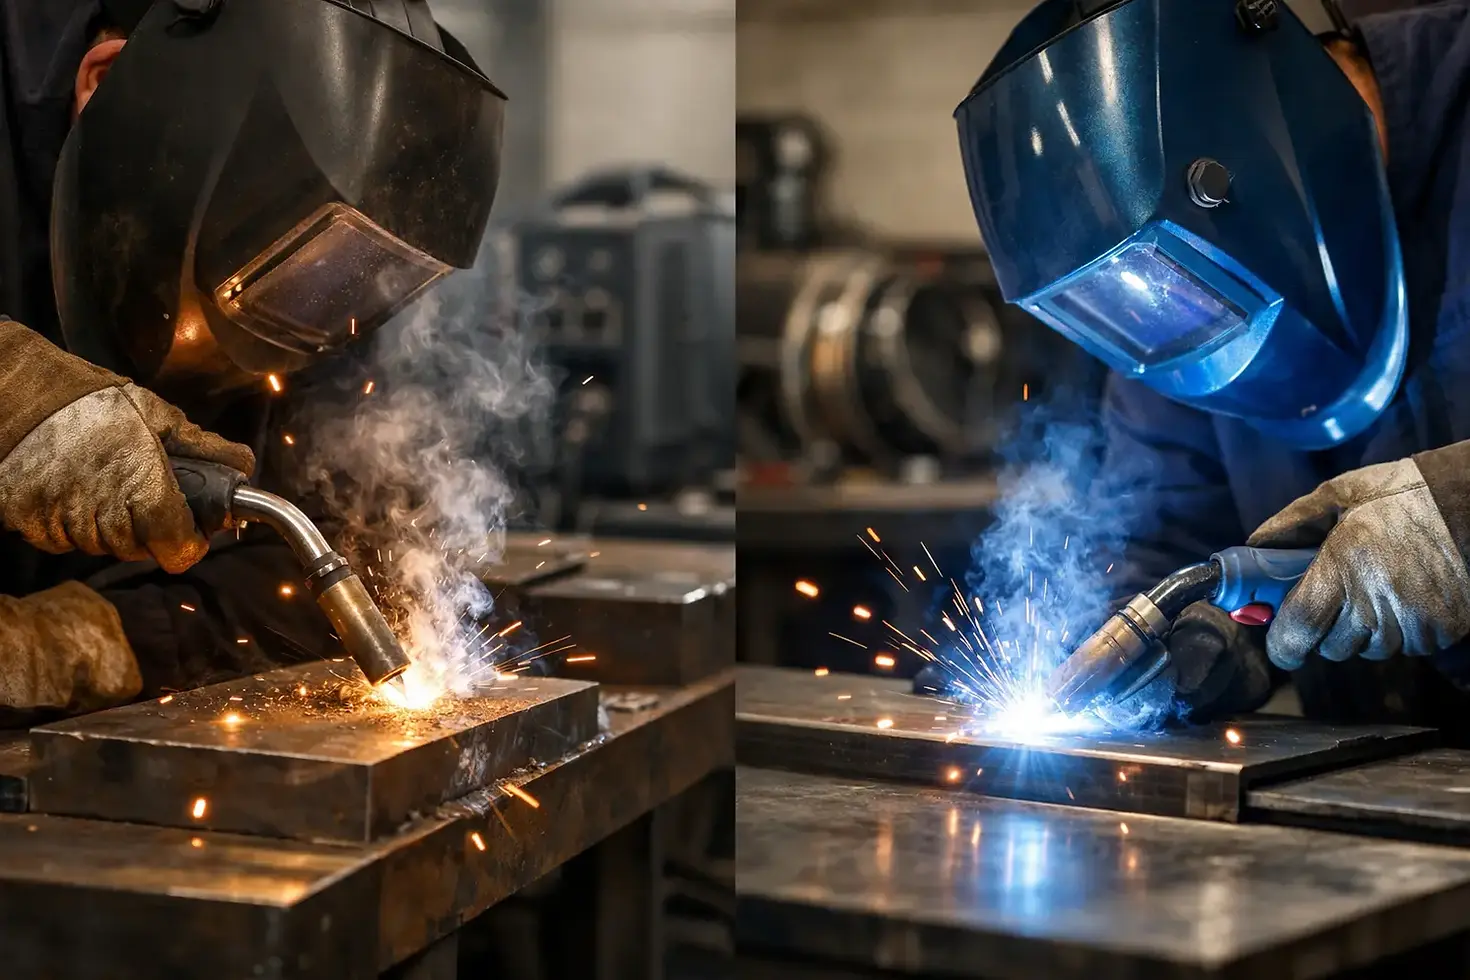
Flux Core vs MIG Welding: Which Fits Your Shop?
- ERIC GIROUX
- 5 days ago
- 6 min read

A rusty rocker patch, trailer repair, or new workbench frame can all look like a simple welding job until you choose the wrong process for the conditions. The flux core vs MIG welding decision affects cleanup, appearance, penetration, equipment setup, and how easily you can make a sound repair on thin automotive steel.
Both processes use a continuously fed wire electrode and are accessible to first-time welders. The difference is how the molten weld puddle is protected from air. That one detail changes where each process works best and what the finished weld requires before paint, body filler, or final assembly.
Flux Core vs MIG Welding: The Main Difference
MIG welding, more accurately called gas metal arc welding, uses solid wire and a shielding gas supplied from a cylinder. For typical automotive work, that is commonly a mix of argon and carbon dioxide. The gas shield keeps oxygen and contaminants out of the weld puddle, while the solid wire becomes the filler metal.
Flux core welding uses tubular wire filled with flux. As the wire burns, the flux creates its own shielding gas and a protective slag layer over the weld. The most common type for home garages is self-shielded flux core wire, which does not require a gas cylinder. Gas-shielded flux core wire also exists, but it is generally more relevant to heavier fabrication and production work.
For restoration work, the practical distinction is straightforward: MIG is usually the cleaner choice for thin, clean sheet metal in a controlled garage. Self-shielded flux core is usually the more forgiving choice when working outdoors, on heavier steel, or where wind would disrupt a gas shield.
When MIG Welding Is the Better Choice
MIG is the process many builders reach for when repairing body panels, floor pans, wheel tubs, and other thin-gauge automotive steel. It produces a cleaner weld with little or no slag, which means less time spent chipping, wire-brushing, and grinding before the repair can move to the next stage.
That cleanup advantage matters on visible work. When you are welding a quarter-panel patch or closing small plug welds on a replacement panel, a cleaner bead makes it easier to inspect for pinholes and control how much material you grind away. A solid-wire MIG setup can also deliver a smoother, more stable arc on clean sheet metal, especially when settings are matched to the material thickness.
MIG also works well for general garage fabrication. It is a strong option for brackets, engine mounts, exhaust hangers, cart frames, and mild-steel projects where appearance and post-weld finishing matter. With the right wire, gas, machine settings, and surface preparation, it gives the operator excellent control.
Its limitation is environmental. Shielding gas does not tolerate wind well. Even a light breeze can blow the gas away from the puddle and cause porosity, a weld defect that leaves small holes and weakens the joint. MIG is best used indoors or behind a proper windbreak.
MIG Requires Clean Metal
MIG is not a shortcut around preparation. Rust, paint, undercoating, oil, seam sealer, and galvanizing contaminate the weld area and can cause spatter, porosity, inconsistent arc behavior, and poor fusion. Clean the steel to bright metal on both sides of the joint whenever access allows.
This is especially important on old vehicle panels. What looks like solid steel around a rust hole may be thin, layered, or contaminated from decades of coatings. Cut back to sound metal, fit the patch closely, and use short, controlled welds to manage heat. On bodywork, a series of tack welds spaced around the joint is usually safer than trying to run a long bead.
When Flux Core Welding Makes More Sense
Self-shielded flux core is built for convenience and field conditions. There is no gas bottle to transport, no regulator to set, and no concern about a gust of wind ruining the shielding around the puddle. If you are repairing a utility trailer in the driveway, adding tabs to a heavier project outdoors, or working where gas cylinders are impractical, flux core is often the better tool.
Flux core wire generally provides strong penetration on thicker steel. That can be useful for frame-related fabrication, equipment repairs, structural brackets, and heavier tubing, provided the material is sound and the weld design is appropriate. It can also tolerate slightly less-than-perfect surface conditions better than MIG, though it should never be treated as permission to weld through heavy rust, grease, or paint.
The trade-off is cleanup. Flux core leaves slag that must be removed completely before inspecting the weld or adding another pass. It also tends to create more spatter than a well-tuned MIG setup. On a hidden repair or a heavy fabrication job, that may be a minor inconvenience. On an outer body panel that needs to be metal-finished and painted, it can add unnecessary work.
Flux core can weld thin metal, but it demands discipline. Its hotter, more aggressive arc makes burn-through easier on thin automotive sheet metal, particularly when panels have rust-thinned areas near the repair. Use a small diameter wire where appropriate, keep stickout consistent, stitch weld in short bursts, and allow the panel to cool between welds. Even then, MIG is usually easier for a beginner to control on body panels.
Choosing by Project, Not by Hype
There is no universal winner between flux core and MIG. Choose the process around the material, environment, and finish standard of the job.
For body-panel patches, floor pans, trunk repairs, and clean indoor fabrication, MIG is generally the better starting point. It offers cleaner welds, easier finishing, and more forgiving control on thin steel. For outdoor repairs, thicker steel, and projects where portability matters more than a paint-ready bead, self-shielded flux core has a clear advantage.
A multiprocess welder can be a smart long-term shop purchase because it gives you both options. Start with flux core when the project is outside or involves heavier material, then switch to solid wire and shielding gas when the work calls for cleaner welds. That flexibility is useful for builders who move between restoration, trailer work, bracket fabrication, and garage improvements.
Setup Details That Change Weld Quality
The wire is only part of the equation. Incorrect polarity is one of the most common reasons a weld looks rough or lacks penetration. Most self-shielded flux core wires run on DC electrode negative, often labeled DCEN. Solid-wire MIG with shielding gas typically runs on DC electrode positive, or DCEP. Always verify the wire manufacturer’s recommendation and set the machine polarity before welding.
Wire size matters too. Smaller wire is better suited to thin material, while larger wire is more appropriate for thicker steel and higher-output work. Match the contact tip, drive roll groove, and liner to the wire diameter. Poor wire feeding creates an unstable arc that no amount of technique can fully correct.
Joint fit-up deserves the same attention as machine settings. Wide gaps increase the chance of burn-through on sheet metal and require more filler to bridge. Tight, consistent fit-up helps you weld cooler and cleaner. Clamp panels securely, use temporary fasteners or panel-holding tools where needed, and check alignment before committing to a weld.
Keep safety equipment close at hand. A properly rated welding helmet, gloves, jacket, closed-toe boots, and eye protection for grinding are basic requirements. Remove flammable materials from the area, keep a fire extinguisher nearby, and check both sides of the panel for wiring, insulation, fuel lines, and seam sealer before striking an arc.
The Right Process Still Needs Good Technique
A quality weld should show fusion at both pieces of metal, not simply sit on top like a raised line of filler. Watch the leading edge of the puddle, maintain a steady travel speed, and avoid chasing a large, overheated puddle. If the weld is popping, sooty, porous, or sitting high and cold, stop and correct the setup rather than covering the problem with another pass.
For automotive sheet metal, patience beats speed. Make a tack, move to another area, and return after the first spot cools. This limits warping and reduces the time spent correcting distortion with a hammer and dolly. After grinding, inspect the repair under good light and address pinholes before primer or seam sealer hides them.
The best choice is the one that suits the steel in front of you and the conditions around it. Set up MIG for clean, controlled bodywork, keep flux core ready for outdoor and heavier repairs, and let the required finish guide the process before the first spark flies.


Comments