
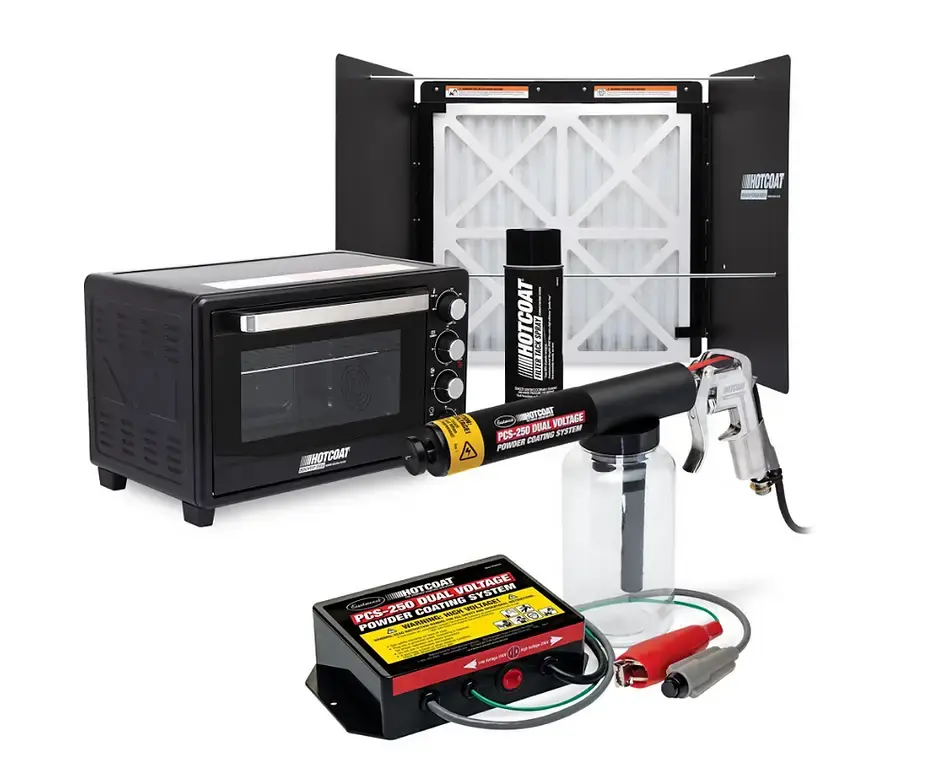
Powdercoat Gun Setup for Better Shop Results

A powdercoat gun can turn brackets, wheels, suspension parts, and underhood hardware into durable, professional-looking components - but only when the whole process is set up correctly. The gun gets most of the attention, yet clean metal, reliable grounding, controlled air, and a proper cure schedule do just as much to determine whether a part comes out smooth or heads back to the stripping bench.
For the home restorer or independent shop, powder coating is especially useful because it combines long-term protection with a finish that holds up well against chips, solvents, heat, and regular handling. It is not the best answer for every component, but on the right part, it is one of the most efficient finishing systems a garage can add.
What a Powdercoat Gun Actually Does
A powdercoat gun uses compressed air and electrostatic charge to apply dry powder to a grounded metal part. As the powder leaves the gun, it receives an electrical charge. The grounded workpiece attracts those particles, allowing the powder to cling to the surface before it is cured in an oven.
That basic process sounds simple, but the charge is only useful when the part has a clear path to ground. If a hook, rack, clamp, or contact point is coated with old powder, the electrical connection becomes weak. The result can be thin coverage, uneven buildup, poor adhesion, or powder that falls away when the part is moved.
Most automotive powder coating work involves steel parts, which ground easily and tolerate typical curing temperatures. Aluminum can also be coated successfully, although surface preparation and grounding still matter. Cast pieces demand extra attention because trapped oils and gases can escape during curing and create pinholes in the finish.
Choosing the Right Powdercoat Gun for Your Work
https://www.eastwoodcanada.com/powder-coat-paint?currency=CAD
The right powdercoat gun depends less on the size of your garage and more on the parts you plan to coat. A hobbyist refinishing brake brackets, pedal assemblies, small engine accessories, and fasteners needs predictable control and easy cleanup. A shop handling frames, wheels, and repeated batches needs greater output, consistent charge control, and a setup that keeps powder contamination under control.
Look for a gun with adjustable voltage or KV settings. Higher voltage can help powder wrap around simple parts and build coverage quickly. It can also create problems in deep corners, narrow channels, and recessed areas. This is known as the Faraday cage effect: charged powder is naturally drawn to the outside edges of a recess and may resist entering the low-charge area inside it.
Lowering the voltage, reducing powder flow, and changing the gun angle often improves coverage in those difficult areas. This is where adjustability pays off. One fixed setting may work on a flat bracket but fail on a wheel center or a boxed suspension component.
Also consider the powder hopper or cup size. A small cup makes color changes and cleanup easier, which is useful when restoration work calls for several finishes. A larger hopper reduces refills on bigger jobs but may leave more unused powder in the system after a color change. Neither option is automatically better. Buy for the work you actually perform most often.
Air Supply Matters More Than Many Shops Expect
A powdercoat gun does not require the large volume of air associated with some paint spray equipment, but it does need clean, dry, regulated air. https://www.eastwoodcanada.com/product-page/eastwood-elite-qst-30-60-scroll-air-compressor-with-automatic-drain-system?currency=CAD Moisture or oil in the line can cause sputtering, contamination, and inconsistent powder delivery. A compressor that runs constantly may also introduce heat and condensation into the system.
Use filtration appropriate for finishing work and keep the air line dedicated to clean coating equipment whenever possible. https://www.eastwoodcanada.com/product-page/eastwood-canada-air-cfs-complete-filtration-system-31633?currency=CAD Set pressure according to the gun and powder manufacturer recommendations, then adjust only when a specific spray pattern problem calls for it. More pressure is not a cure for poor coverage. Too much can push powder past the part, disturb the cloud, and create a rougher application.
Prepare the Part Before You Pull the Trigger
Powder coating will not hide rust scale, grease, heavy pitting, or poor repair work. It tends to reveal surface defects with impressive clarity, particularly in gloss finishes. Preparation should start with degreasing, followed by media blasting or another suitable mechanical cleaning method to create a clean, uniform surface.
Avoid touching freshly prepared metal with bare hands. Skin oils can interfere with adhesion and show up as defects after curing. Handle parts with clean gloves, and coat them soon after preparation to prevent flash rust or shop contamination. https://www.eastwoodcanada.com/product-page/eastwood-pre-green-painting-prep-gallon?currency=CAD
Outgassing is a separate concern for cast aluminum, cast iron, and porous components. Heat the cleaned part before coating to drive out trapped oils and moisture, then allow it to cool before spraying. If a part has been exposed to lubricants for years, one pre-bake may not be enough. It is better to repeat the cleaning and outgassing process than waste powder on a finish that develops craters in the oven.
Masking should be planned before the part reaches the coating area. Threads, bearing bores, machined sealing surfaces, electrical contact points, and tight-fitting holes may need high-temperature tape, plugs, or caps. Powder adds measurable film thickness. A clean-looking finish is no help if a bushing will no longer fit or a bolt cannot start in its threads.
Powdercoat Gun Setup That Produces Consistent Coverage
https://www.eastwoodcanada.com/powdercoat-accessories?currency=CAD
Hang the part so you can reach every surface without repeatedly grabbing or repositioning it. The hanger must make solid metal-to-metal contact, and the grounding clamp should attach to bare metal on the rack or hanger. Check this connection before every session, especially when coating several batches.
Start with a light, controlled pass rather than trying to bury the part in powder immediately. Hold the powdercoat gun at a consistent distance and keep it moving. Watch for a uniform, soft appearance across the surface. Bare spots are easy to identify before curing; heavy piles of powder in corners are equally visible if you inspect closely under good lighting.
For ordinary brackets and flat parts, work across the face with overlapping passes, then coat the edges and back side as needed. For tubes, wheel centers, and complex fabricated pieces, spray from different angles while keeping the powder cloud under control. The goal is even film build, not the thickest possible layer.
If powder begins to repel from an area that was already coated, reduce voltage and avoid overworking the spot. This can happen when the surface has accumulated enough charge to resist more powder. A few seconds of patience and a change in settings can prevent a thick, lumpy edge.
Curing Is Part of the Finish, Not an Afterthought
Once coated, the part needs to be transferred carefully into a dedicated curing oven. Do not use an oven intended for food after it has been used for powder coating. Follow the powder manufacturer’s curing schedule, with special attention to whether the stated time begins when the oven reaches temperature or when the part itself reaches temperature.
Heavy steel parts take longer to come up to temperature than thin brackets. A timer started too early may leave the coating under-cured, which can reduce chemical resistance and durability. On the other hand, excessive heat or extended cure time can shift color, reduce gloss, or damage heat-sensitive components.
An oven thermometer and an infrared thermometer help verify what is actually happening. Oven controls are not always exact, particularly in converted shop ovens. Check several areas inside the oven and avoid crowding parts together, since restricted airflow can create uneven cure results.
Common Problems and the Practical Fix
Thin edges or bare spots usually point to weak grounding, poor gun angle, insufficient powder flow, or difficult recessed geometry. Start by cleaning the ground contact, then adjust your technique before changing multiple settings at once.
A rough, sandy texture can come from applying powder too heavily, spraying from too far away, excessive air pressure, or contaminated powder. A finish with craters or fish-eyes often traces back to oil, silicone, moisture, or outgassing from the part itself. When defects repeat, do not keep spraying more powder. Stop and identify the source in the prep area, air supply, or coating equipment.
Poor adhesion after cure is commonly a preparation problem or an incomplete cure problem. Crosshatch testing on a test panel can help verify the process before you coat a set of hard-to-replace restoration parts.
Eastwood Canada supports the kind of garage upgrades that make refinishing work more controlled, from coating equipment to the prep supplies that determine whether the final finish lasts.
A powdercoat gun is a valuable shop tool when it is treated as part of a complete system. Build clean preparation, dependable grounding, measured application, and verified curing into the routine, and the next batch of restoration parts will look less like a garage experiment and more like work built to stay on the vehicle.


Comments