
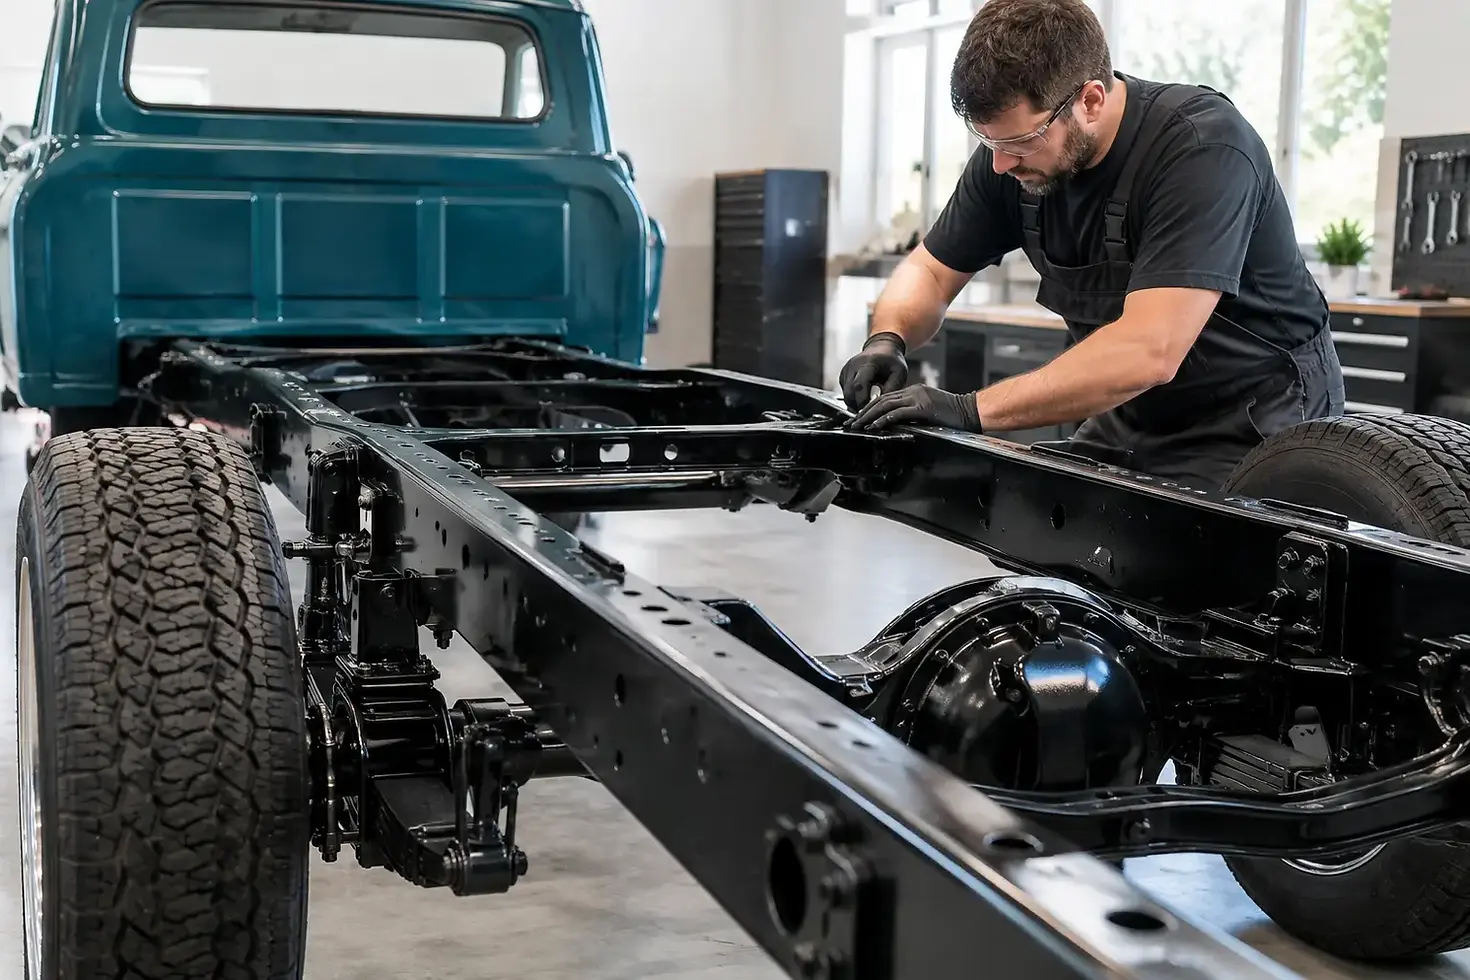
Classic Truck Frame Restoration That Lasts

A classic truck can wear faded paint, cracked upholstery, and a few dents with pride. A compromised frame is different. The frame carries every load, absorbs braking and suspension forces, and determines whether the truck is safe to drive. Classic truck frame restoration is not cosmetic work hidden beneath the body. It is the foundation of a build that needs to last.
Whether you are reviving a farm truck, building a street-driven C10, or putting a workhorse back on the road, the best results come from treating the frame as a complete system. That means inspecting the steel honestly, repairing damage before coating, removing corrosion thoroughly, and applying products in the correct order.
Start Classic Truck Frame Restoration With Inspection
Do not start with a wire wheel. Start with a careful inspection while the frame is stripped enough to see what is actually there. Decades of oil, undercoating, road grime, and layered repairs can hide serious corrosion or poor previous work.
Pay close attention to the front and rear suspension mounting points, steering box area, cab mounts, crossmembers, spring hangers, body mount brackets, and areas around rivets. On boxed sections, look for swollen seams, flaking metal, and rust bleeding from drain holes. A frame that looks solid from the outside may have lost substantial material inside.
Use a hammer and pick to test questionable areas, but do not confuse surface scale with structural failure. Light pitting on thick steel may be acceptable after proper cleaning. Deep pits around a suspension mount or a crack radiating from a bracket are a different matter. If the frame has collision damage, severe perforation, or major distortion, measure it before making repairs. A coating cannot correct a bent rail or reinforce thin metal.
Know When Repair Is the Better Choice
Small localized rust-through can often be repaired with properly fitted steel patches and sound welds. The repair needs to restore the original thickness and strength, not simply cover the hole. Avoid welding over rust, thin edges, or old undercoating. Those shortcuts create weak repairs and contaminate the work area.
For serious rust in load-bearing areas, replacement sections or a replacement frame may be the smarter investment. It depends on the truck's value, how original you need it to remain, and how much metal has been compromised. There is no prize for saving a frame that will not safely support the vehicle.
Strip Contamination Before You Chase Rust
Frames collect more than corrosion. Grease and oil can migrate into seams and pores in old steel, causing coating adhesion problems later. Degreasing is not an optional first step, especially around engine mounts, transmission crossmembers, and rear axle areas. https://www.eastwoodcanada.com/product-page/eastwood-contour-sct-steel-wire-drum-with-metal-hub-for-heavy-work?currency=CAD
Remove heavy deposits with scraping and a quality degreaser before abrasive work begins. Pressure washing can help, but give the frame adequate time to dry. Water trapped in boxed rails, body mount cups, and overlap joints will work against every coating applied afterward. https://www.eastwoodcanada.com/product-page/21145-eastwood-contour-sct-surface-conditioning-tool-1?currency=CAD
Once the frame is clean, choose the rust-removal method based on access and the condition of the metal. Media blasting is usually the most efficient option for a bare frame because it reaches contours, brackets, rivet heads, and rough cast components quickly. It also exposes hidden cracks, thin steel, and previous repairs that hand tools may miss.
Blasting requires control. Excessive pressure or aggressive media can distort thin sheet metal, though heavy frame rails are generally more forgiving. Keep media out of threaded holes, machined surfaces, and sealed components. If you are blasting at home, proper respiratory protection, containment, and cleanup are part of the job, not extras.
For sections that cannot be blasted, use wire wheels, abrasive discs, needle scalers, and hand tools as needed. Mechanical cleaning should remove loose scale and create a stable surface. It does not need to make every square inch look polished, but it must leave no weak, lifting corrosion behind. https://www.eastwoodcanada.com/product-page/eastwood-contour-sct-scale-stripping-drum-21975?currency=CAD
Treat Bare Steel on a Schedule
Freshly cleaned steel starts oxidizing quickly, particularly in humid conditions. Plan the coating process before blasting so the frame is not left bare for days while you decide what comes next. If the project must pause, keep the frame dry and protected from fingerprints, moisture, and shop dust.
A rust treatment or metal prep product is useful where staining and corrosion remain in pits or seams after mechanical cleaning. Follow the product directions closely regarding dwell time, rinsing, drying, and compatibility with the primer that follows. Mixing random products from different systems can create adhesion failures that do not show up until the truck sees weather and road vibration.
This is where restoration-grade product selection matters. Eastwood Canada supplies specialty rust treatment, abrasives, coatings, and shop equipment intended for real restoration workflows, not just a quick cosmetic refresh.
Seal the Areas You Cannot See Again
Boxed rails, crossmembers, and overlapping brackets are common rust traps because they hold moisture while remaining difficult to access after assembly. Internal frame coating is worth the effort when the design allows it. Use an extension wand to reach inside rails and apply an even protective film rather than flooding one opening and hoping it spreads.
Make sure factory drain holes remain open. Sealing every opening may seem protective, but trapped water needs a path out. If you add repairs or reinforcement plates, consider how water will drain from the finished structure.
Build a Coating System, Not a Single Layer
Frame protection works best when each layer has a defined purpose. The primer must grip prepared steel and resist corrosion. The topcoat must provide durable coverage against chips, moisture, fuel splash, and routine cleaning. In high-impact areas, an additional protective coating may be appropriate, but only when it is compatible with the primer and finish below it.
A two-part epoxy primer is a strong choice for properly prepared bare steel because it provides adhesion and moisture resistance. It is particularly useful when the frame will be topcoated later rather than immediately. Allow the primer to cure within its recommended window, then scuff if required before applying the next layer.
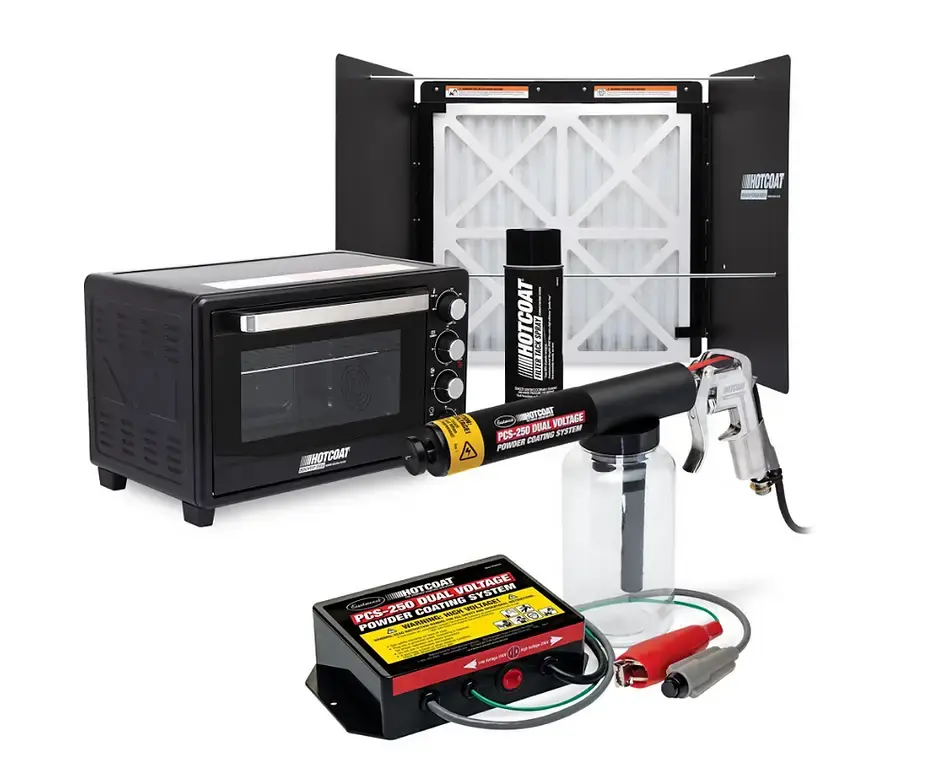
For the finish, choose based on how the truck will be used. A show-oriented restoration may call for a smooth satin or gloss chassis finish with careful masking and detailed prep. A regularly driven truck needs a finish that is easier to touch up after stone chips and service work. Powder coating can be durable, but it is not automatically the best answer. It requires complete disassembly, proper baking capacity, and careful attention to trapped media or contamination inside boxed sections. Repairing future damage can also be more involved than touching up a sprayed coating.
Avoid applying thick coatings simply because they look tough. Heavy material can bridge sharp edges, trap solvents, hide cracks, and peel in sheets if the surface was not properly prepared. Multiple controlled coats are more dependable than one overloaded pass.
Reassemble Without Damaging the Work
A freshly finished frame can be scratched before the first wheel is installed. Let coatings cure fully before setting the chassis on stands, installing suspension, or routing lines. Use padded supports where possible, and keep a small amount of compatible finish material available for touchups.
Replace worn rubber mounts, cracked brake lines, corroded fasteners, and tired bushings while access is easy. This is also the time to inspect fuel lines, wiring clips, brake hose routing, and ground connections. The frame restoration is the best opportunity to correct the details that become difficult once the cab, bed, and drivetrain return. https://www.eastwoodcanada.com/product-page/eastwood-autobody-seam-sealer-cartridge-black?currency=CAD
Do not trap bare steel under bolted brackets. Coat mating surfaces as appropriate, use suitable fasteners, and revisit hardware after the truck has been driven. Where dissimilar metals meet, consider how moisture and galvanic corrosion may affect the joint over time. https://www.eastwoodcanada.com/product-page/eastwood-canada-brush-on-seam-sealer-quart-51657zp?currency=CAD
Keep the Frame Protected After the Build
A restored frame still needs maintenance, especially if the truck sees rain, gravel roads, winter storage, or salted pavement. Wash accumulated mud from crossmembers and suspension pockets. Inspect chips after long drives and touch them up before corrosion gets underneath the surrounding finish.
The payoff is not just a cleaner undercarriage. A properly restored frame gives you a stable platform for every other part of the project, from suspension geometry to body alignment. Build that foundation carefully, and the truck will be ready for the miles that make a classic worth owning.


Comments