
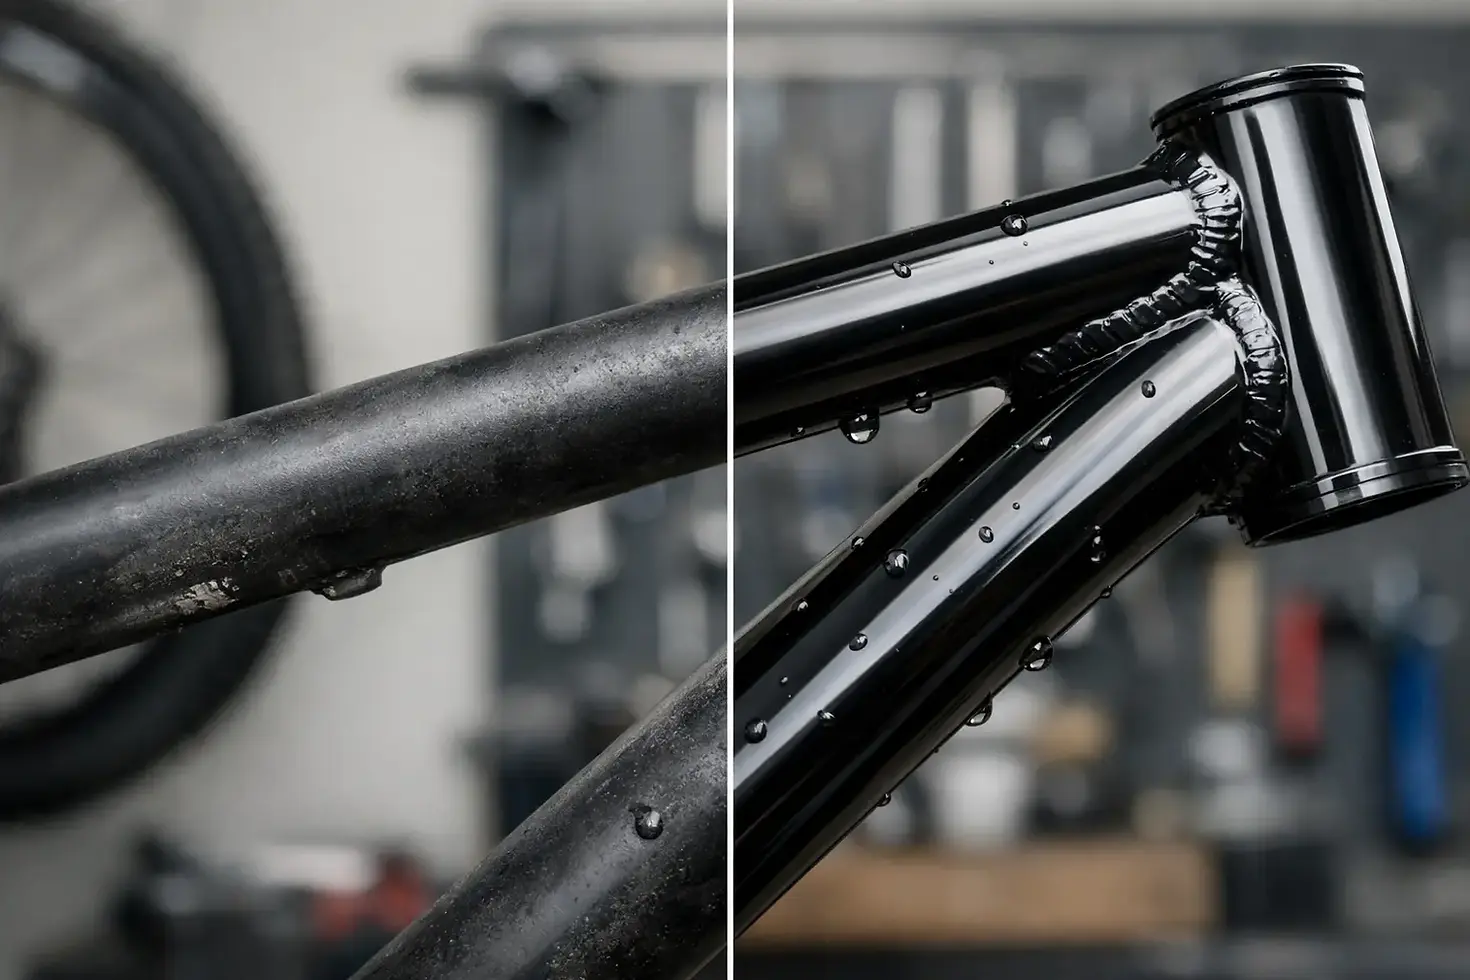
Frame Coating Before After Example: Real Results

A frame can look solid from five feet away and still be shedding scale, holding moisture in seams, and staining every part bolted to it. A good frame coating before after example is not just about turning rusty brown steel into a clean black chassis. It shows whether the repair stopped corrosion at the source, sealed difficult areas, and left a finish tough enough for real road use.
For restoration work, the "after" matters only if the steps behind it are right. A glossy finish over loose rust may look sharp on photo day, but it will not hold up through wet roads, gravel, salt, heat cycles, and years of vibration.
What a Frame Coating Before After Example Should Show
The before condition tells you what kind of job the frame needs. Light surface oxidation on a dry, solid chassis is very different from deep pitting, swollen seams, flaking factory coating, or rust-through around suspension mounts. Coating can protect sound metal and stabilize properly treated corrosion. It cannot restore metal that has already lost structural strength.
A useful before image typically shows exposed steel, faded factory paint, surface rust, and areas where dirt has trapped moisture. Pay close attention to the lower rails, crossmembers, spring perches, body mounts, brake and fuel line brackets, and the inside edges of boxed sections. These are the places where a frame often fails long before the broad, visible surfaces look alarming.
The after condition should show more than a uniform color. Look for a finish with consistent coverage around welds, rivets, corners, and brackets. There should be no bare edges, thin dry-spray areas, or heavy runs collecting at the bottom of rails. On a driver, a satin or semi-gloss chassis finish often makes maintenance easier because it hides minor road grime while still showing leaks and damage. A high-gloss finish can look excellent on a show vehicle, but it highlights every sanding mark, weld repair, and chip.
The Real Difference Is Surface Preparation
The biggest change in a successful frame coating before after example happens before the coating is opened. Coatings adhere to a prepared surface, not to grease, loose scale, old failing paint, or dust left in a seam.
Start by removing the frame from the vehicle when the project scope allows. That gives you proper access to the top of the rails, inner surfaces, suspension mounting points, and hard-to-reach crossmembers. If the body stays on, plan the work in sections and accept that access will be more limited. A careful on-vehicle coating job can still be durable, but masking and cleanup take more time than many builders expect.
Degreasing comes first. Oil and silicone contamination can be driven deeper into rust and old paint if you start sanding or blasting too early. Use a dedicated cleaner, scrub heavily soiled areas, and let the frame dry completely. Repeat the process around steering boxes, engine mounts, transmission crossmembers, and differential areas where leaks tend to collect.
Next, remove loose corrosion and failing coating mechanically. A wire wheel, stripping disc, needle scaler, abrasive blasting setup, or a combination of these tools can work depending on the condition of the frame. Blasting is often the fastest route to a clean, uniform profile on a bare chassis, especially around complicated brackets. It also reveals thin metal, previous repairs, and cracks that were hidden under undercoating.
Do not confuse a darkened rusted surface with a clean surface. If corrosion remains in pits after mechanical cleaning, use a compatible rust treatment or coating system designed for that condition. Follow the product instructions closely. Some treatments need rinsing or a specific dry time, while some coatings need a defined surface profile for adhesion. Skipping that detail is how a frame that looked finished in spring starts peeling by fall.
Repair Metal Before You Cover It
Frame coating is not a substitute for welding repair. If a rail is perforated, a mount is separating, or rust has weakened a structural section, repair the metal first. Cut back to sound steel, fabricate the correct patch or replacement section, weld it properly, then clean and coat the repair.
This is also the best time to inspect drain holes and boxed-frame openings. Drain holes plugged with dirt keep water inside the rail. Clear them without enlarging or altering structural areas unnecessarily, then plan for internal corrosion protection once the exterior coating has cured.
Choosing the Right Coating System
There is no single best frame coating for every build. The right choice depends on whether the vehicle is a show car, a fair-weather cruiser, a year-round truck, an off-road rig, or a restoration that will see Canadian rain and road salt.
For bare, blasted steel, an epoxy primer provides a strong foundation and corrosion resistance. It can be followed by a durable chassis topcoat selected for the desired sheen and chemical resistance. This approach gives excellent control over the final appearance, especially when the frame has weld repairs or mixed metal conditions.
For a frame with sound, tightly bonded old coating and localized rust, a direct-to-metal rust-protective coating may make more sense. The key is confirming that the existing finish is stable. Feather the edges, remove all loose material, clean thoroughly, and test compatibility before coating the entire chassis.
For the inside of boxed rails, use a cavity wax or internal-frame coating with an extension wand. Exterior paint cannot protect the hidden surfaces where moisture sits. This step is especially worthwhile on trucks, unibody subframes, and vehicles driven in wet or salted conditions.
Eastwood Canada carries restoration-focused coating, rust treatment, abrasive, and shop products that allow builders to put together a complete frame-prep workflow rather than relying on a one-can fix.
What a Professional-Looking Finish Requires
The visual difference between an average coating job and a clean restoration-grade finish usually comes down to application control. Mix coatings accurately, respect induction and recoat windows when required, and choose the right method for the material. Spray application gives the most even finish on broad rails and complex brackets, while brush application can work well for seams, small repairs, and areas where overspray is a concern.
Temperature and humidity matter. A cold garage can slow cure time and affect flow. Excess humidity can create surface problems, while a dusty workspace can leave debris permanently embedded in the finish. If spraying, clean the work area, blow dust from the frame, and use proper respiratory protection. A frame coating may be tough after cure, but the solvents and airborne particles during application are not something to take lightly.
Apply enough material to build protection, but do not chase coverage in one heavy pass. Heavy coats are more likely to run, trap solvent, and remain soft longer than expected. Multiple controlled coats generally produce a more uniform finish. Give special attention to sharp edges, welds, and bracket transitions, since those spots tend to receive less film build and take the first hit from road debris.
Common Before-and-After Mistakes
The most disappointing after photos often share the same problems: rust was painted without removal or treatment, grease remained under the coating, and inaccessible sections were ignored. Another common mistake is coating rubber bushings, brake lines, wiring, identification tags, and threaded holes because masking felt inconvenient. That creates more work during reassembly and can make later service harder.
Avoid coating over active leaks. Repair the leak first, then clean the area again before applying the finish. Fresh gear oil, power steering fluid, or engine oil can undermine adhesion quickly. Also avoid installing suspension and drivetrain parts before the coating has reached its recommended cure. Bolting parts onto a soft finish can leave permanent marks and expose metal at mounting points.
Set the Standard for Your Own Frame
A strong frame coating job should make the underside of the vehicle easier to inspect, clean, and maintain. It should also give you confidence that the structure beneath the body is protected, not merely disguised. Take clear before photos, document any metal repairs, and compare the finished chassis under good light. The best after result is the one that still looks controlled and protected after the first season on the road.


Comments