
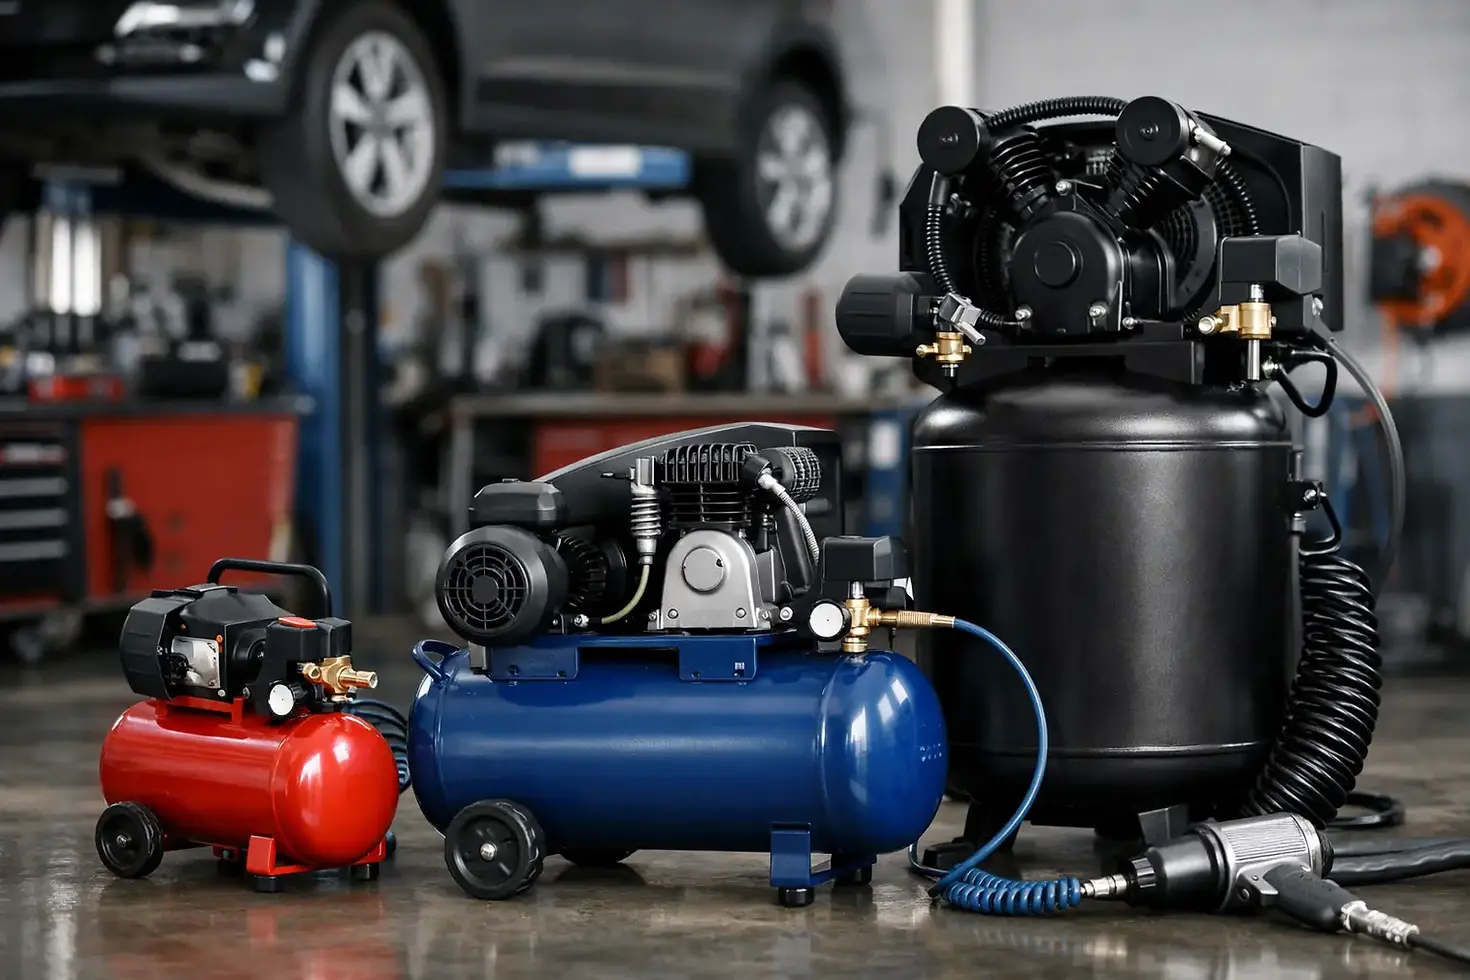
Garage Air Compressor Sizing Guide for Auto Work
- ERIC GIROUX
- 4 days ago
- 6 min read

A compressor that can run an impact wrench may still be completely wrong for spraying a quarter panel or stripping a frame. This garage air compressor sizing guide focuses on the work that matters in an automotive shop: paint, bodywork, fabrication support, cleaning, and the air tools that keep a restoration moving.
The short version is simple: buy for the tool that uses the most air for the longest time, not the tool with the biggest advertising claim. A small compressor can deliver enough pressure to spin many tools briefly. What separates a useful shop compressor from a frustrating one is whether it can maintain airflow while the work is underway.
Start With CFM, Not Tank Size
https://www.eastwoodcanada.com/product-page/eastwood-canada-elite-qst-80-120-scroll-air-compressor-32500?currency=CAD
CFM, or cubic feet per minute, is the main number for compressor sizing. It tells you how much air the compressor can supply. For automotive work, compare the compressor's delivered CFM rating at the pressure your tool requires, usually 90 PSI for general air tools and lower pressures for many spray guns.
Do not compare a compressor's displacement rating or a headline "peak CFM" number to a tool requirement. Those figures can make a small unit look more capable than it is. Look for SCFM, or standard cubic feet per minute, delivered at a stated PSI. If a manufacturer lists several ratings, use the one closest to your working pressure.
A good rule is to take the highest CFM requirement among the tools you expect to run and add 25 to 50 percent capacity. That margin accounts for real-world use, hose losses, regulator restrictions, warm operating conditions, and the fact that many tool ratings are optimistic.
If your highest-demand tool needs 12 CFM at 90 PSI, look for a compressor that can deliver at least 15 CFM at 90 PSI. If you expect long, continuous sessions, such as sanding an entire vehicle or blasting suspension parts, leaning closer to 18 CFM gives the compressor a far better chance of keeping up.
Match Compressor Output to the Job
https://www.eastwoodcanada.com/product-page/eastwood-elite-qst-30-60-scroll-air-compressor-with-automatic-drain-system?currency=CAD
Not every garage needs a large stationary compressor. The right size depends on how long you pull the trigger and how clean, stable, and dry the air must be.
Occasional repairs and mechanical work
For tire inflation, blow guns, brad nailers, short bursts with an impact wrench, and occasional ratchet use, a portable compressor delivering roughly 4 to 6 SCFM at 90 PSI can be workable. A 20- to 30-gallon tank makes it more useful than a compact pancake unit because it gives you stored air for short, high-demand bursts.
This is a practical setup for light maintenance. It is not a good choice for a full repaint, continuous die grinding, or abrasive blasting. The compressor will run constantly, pressure will fall, and moisture control becomes difficult as the pump gets hot.
Bodywork, DA sanding, and die grinding
https://www.eastwoodcanada.com/product-page/rockwood-right-angle-air-die-grinder?currency=CAD Dual-action sanders, die grinders, cut-off tools, and air files consume air steadily. Many DA sanders are rated around 10 to 15 CFM, and actual demand can be significant during long block-sanding or panel-prep sessions.
For this category, a 60-gallon, 240-volt compressor delivering about 15 to 18 SCFM at 90 PSI is a sensible starting point. It will not make every high-consumption tool effortless, but it provides enough reserve for serious hobby restoration work. If sanding is a daily shop task, more CFM is worth paying for.
Spray painting and refinishing
Paint work needs airflow, but it also needs control. Many HVLP spray guns operate around 20 to 30 PSI at the gun inlet while requiring 7 to 13 CFM or more. Read the gun's actual specification instead of assuming that low pressure means low air consumption.
For painting complete panels or an entire vehicle, target at least 15 CFM delivered at 90 PSI, with 18 to 20 CFM offering more breathing room. A 60-gallon tank is common because it reduces cycling and helps stabilize the supply, but the tank is only part of the system.
Clean air is equally important. Use proper water separation and filtration, regulate pressure near the point of use, and give compressed air time to cool before it reaches the paint gun. A compressor that technically meets the CFM requirement can still cause fisheyes, water contamination, or uneven atomization if the air system is poorly managed.
Abrasive blasting
https://www.eastwoodcanada.com/product-page/the-eastwood-canada-b60-abrasive-media-blast-cabinet-98019?currency=CAD
Blasting is where undersized compressors get exposed quickly. A small blast cabinet may need 10 to 15 CFM depending on nozzle size and pressure. Larger cabinets, pressure pots, and outdoor blasting setups can require 20 CFM, 25 CFM, or substantially more for continuous operation.
If blasting rust from brackets now and then, a 60-gallon compressor in the 15 to 18 CFM range can work with a modest nozzle and patient pace. For frames, wheels, body shells, or regular production blasting, choose a higher-output stationary unit. Reducing nozzle size can lower air demand, but it also slows the work. That trade-off is often better than overworking a compressor, especially when only occasional blasting is planned.
Tank Size Helps, but It Does Not Create Airflow
A larger tank stores more compressed air. It lets an impact wrench hit harder for a short period and gives a spray gun or sander a brief reserve before the pump must catch up. It does not increase the compressor's delivered CFM.
Think of the tank as a buffer and the pump as the supply. A 60-gallon tank paired with a low-output pump will eventually run out during continuous sanding. A smaller tank paired with a high-output pump may recover quickly but cycle more often.
For most automotive garages, 20 to 30 gallons suits light mechanical use, while 60 gallons suits sustained body and paint work. An 80-gallon tank is more common where a larger stationary compressor supports frequent shop use, long air lines, or multiple users. Choose tank size after confirming CFM, not before.
PSI, Horsepower, and Voltage: Read Past the Sticker
Most common air tools are designed around 90 PSI. A compressor with a maximum pressure of 175 PSI may offer more stored air than one capped at 125 PSI, but maximum PSI does not replace CFM. The tool still needs enough volume at its working pressure.
Horsepower can be useful, but only when it is tied to credible delivered-air specifications. Focus first on SCFM at 90 PSI, then consider motor type, pump design, duty cycle, and electrical requirements. For serious garage use, a 240-volt compressor generally provides more practical output than a similarly sized 120-volt unit because it can run a more capable motor without pushing a standard household circuit to its limit.
Before ordering a stationary compressor, verify the electrical service in the garage. Confirm voltage, breaker size, wire gauge, receptacle type, and whether the circuit is dedicated. A high-output compressor installed on an inadequate circuit will trip breakers or damage equipment, neither of which helps finish a project.
Account for Duty Cycle and Recovery Time
Duty cycle describes how long a compressor can run within a given period without overheating or excessive wear. A 50 percent duty-cycle machine may need as much rest time as run time. A 100 percent duty-cycle compressor is designed for continuous operation under its stated conditions, though it still needs proper ventilation and maintenance.
For a home garage, occasional cycling is normal. For sanding, blasting, or extended spraying, pay attention to how long the compressor runs to refill the tank. If it runs nearly nonstop and system pressure keeps dropping, the unit is undersized for that task. https://www.eastwoodcanada.com/product-page/the-eastwood-3-gallon-oil-less-pancake-compressor-31289?currency=CAD
Recovery time also matters when using air in bursts. A compressor that refills a 60-gallon tank quickly can keep a mechanic productive between wrenching, grinding, and cleaning tasks. One that takes several minutes to recover may be acceptable for weekend use but frustrating during a long restoration session.
Build the Air System Around the Compressor
Even a correctly sized compressor loses performance through restrictive plumbing and poor moisture control. Use adequately sized hose, quality couplers, and a regulator that can flow the CFM your tools require. A long, narrow hose can create a pressure drop that makes a capable compressor seem weak.
For paint and blasting, drain the tank regularly and install water separation close to the compressor. A filter-regulator near the work area gives you better pressure control. For refinishing, add the appropriate final-stage filtration before the gun. Keep the air line for painting free from lubricated air-tool oil.
If you plan to operate more than one air tool at once, add their expected CFM demands together and increase the safety margin. One person sanding while another blows off parts can push a borderline system past its limit quickly.
A Practical Garage Air Compressor Sizing Guide
For a garage used mainly for tires, fasteners, and brief air-tool work, buy a portable unit with enough delivered air for your highest-rated tool and a tank large enough to avoid constant cycling. For restoration work involving DA sanding, panel prep, and occasional spraying, step up to a 60-gallon, 240-volt compressor with roughly 15 to 18 SCFM at 90 PSI. For frequent full-vehicle refinishing or abrasive blasting, prioritize 18 to 25-plus SCFM, strong duty-cycle capability, and a properly planned air-treatment system.
The right compressor should leave you focused on the panel, the weld, or the finish instead of watching the pressure gauge. Choose capacity for the work you intend to grow into, install it with clean air delivery in mind, and your garage will be ready when the next restoration moves from planning to real work.


Comments