

How to Build a Welding Cart That Works Hard

A welder sitting on the floor works until it does not. Leads get tangled, the gas bottle is awkward to move, and every small repair starts with dragging equipment across the garage. Build a welding cart once, sized for your machine and the kind of fabrication you actually do, and the whole welding setup becomes safer, cleaner, and faster to use.
For automotive work, the best cart is not necessarily the biggest or the most elaborate. It needs to move easily around a project car, carry a cylinder securely, protect your welder from shop debris, and leave room for the consumables that always seem to disappear when you need them.
Start With the Welder, Not a Generic Cart Plan
https://www.eastwoodcanada.com/product-page/eastwood-canada-elite-mp140i-multi-process-portable-welder-20559
Before cutting steel, measure the equipment that will live on the cart. Record the welder's overall width, depth, and height, including cable connections, handles, and any door that swings open for wire changes. Add room around ventilation openings. A compact MIG machine may fit comfortably on a 20-by-30-inch top shelf, while a larger multiprocess machine may need a deeper footprint and a stronger frame.
The gas cylinder determines the cart's proportions more than most builders expect. Measure the diameter and height of the bottle you use most often, including the regulator. A cart designed around a small cylinder may become unstable or unusable when you switch to a taller bottle. If you regularly run both argon mix and straight argon, build enough capacity for the cylinder you are most likely to move.
Think about where the cart will operate. A narrow home garage benefits from a compact layout with the bottle mounted low and close to the welder. In a fabrication bay, a wider cart with a work surface and consumable storage can make more sense. Extra capacity is useful only if the cart still clears tires, jack stands, floor drains, and the corners of your workspace.
Materials That Hold Up in a Real Shop
Square tubing is the usual choice for a reason. It creates a stiff, straightforward frame and makes shelves easy to support. One-inch or 1-1/2-inch square tubing with a wall thickness appropriate for the load is more than adequate for most welding carts. Angle iron also works well, particularly for shelf frames, but it has more edges that collect grinding dust and can be less convenient when fitting panels.
For shelves, 14- to 16-gauge sheet steel is a practical middle ground. It is strong enough for a welder and tools without adding unnecessary weight. A steel top shelf is better than a wood surface near hot work, sparks, and metal offcuts. Expanded metal is a good choice for a lower shelf because debris falls through instead of collecting underneath the machine.
Do not make the cart too light. A cart that rattles, flexes, or shifts when pulling cable is frustrating to use. At the same time, avoid building a tank if you need to push it over cracked concrete. The right balance depends on your welder, cylinder size, and floor condition.
Plan the frame around load and balance
Keep the heaviest items low. The cylinder should sit on a lower tray or base plate, with the welder positioned so its weight stays between the wheels rather than hanging over one side. A top-heavy cart can tip when a lead catches on a rocker panel or when it crosses a threshold.
Use crossmembers under the welder shelf, not just a perimeter frame. Welders concentrate weight at their feet, and a shelf that looks solid can sag over time without proper support. Dry-fit the machine before final welding so you can confirm that its doors, knobs, and connections remain accessible.
How to Build a Welding Cart Frame
Start by cutting the base frame square. Tack it together on a flat surface, then measure diagonally from corner to corner. Matching diagonal measurements indicate that the frame is square. Correct any twist now, because adding vertical uprights and shelves will only lock the problem in place.
Weld in short, alternating sections instead of running one long bead around the frame. This helps control heat distortion, especially when using thinner tubing or sheet steel. Once the base is complete, add the vertical supports and upper shelf frame. Check level and squareness again before welding the shelf panels permanently.
A basic two-tier layout works for most garages. The upper shelf carries the welder at a comfortable height for controls and wire changes. The lower section supports the gas cylinder and can include a small tray for clamps, nozzle pliers, spare contact tips, and a welding hood. If you add drawers, mount them away from the cylinder area and make sure they cannot open while the cart is moving.
Leave clearance behind the welder for power cords, gas fittings, and ventilation. It is tempting to tuck the machine tightly into a tray, but cramped connections get damaged and restricted airflow can shorten equipment life. A raised lip at the front or sides of the shelf can prevent the machine from shifting without trapping it in a box.
Wheels Matter More Than Fancy Accessories
Cart mobility is where many otherwise solid builds fall short. Small hard casters may be inexpensive, but they hang up on cracks, extension cords, and weld spatter. Larger wheels roll better and reduce the effort needed to move a loaded cart.
A common setup uses two fixed rear wheels and two locking swivel casters at the front. This arrangement tracks predictably when pulled and stays put while welding. Four swivel casters make a cart easy to turn in tight quarters, but they can feel less controlled when crossing uneven floors. Either setup can work if the wheels are rated well above the combined weight of the cart, welder, bottle, tools, and accessories. https://www.eastwoodcanada.com/product-page/eastwood-canada-mig-tig-plasma-welding-cart-11616
Place the fixed wheels near the cylinder side if the bottle is the heaviest component. The cart will be easier to tilt and roll over minor obstacles. Use locking casters with a positive brake, not light-duty furniture casters. This is shop equipment, and it should stay where you park it.
Secure the Gas Cylinder Properly
A gas bottle needs more than a shallow ring or a loose bungee cord. Build a lower tray with a raised edge or curved cradle that prevents the cylinder base from sliding. Then install a chain or heavy retention strap around the upper third of the bottle. The restraint should hold the cylinder upright even if the cart hits an obstacle.
Keep the cylinder valve protected during transport. Remove or protect the regulator if the cart will be moved over rough ground, and never use the regulator as a handle. Make sure the bottle remains accessible for opening and closing the valve without reaching around hot metal or tangled leads.
If you use a large cylinder, consider mounting it slightly forward of the rear wheels rather than at the very back of the cart. That keeps the center of gravity inside the wheelbase and reduces the chance of a backward tip.
Add Storage That Earns Its Space
A welding cart becomes more useful when the small essentials have a permanent home. Add hooks for the ground clamp and MIG gun, but position them so cables do not drag near the wheels. A side-mounted rod holder or tube works well for stick electrodes. A shallow tray can hold spare wire, tips, nozzles, anti-spatter compound, and basic setup tools.
Do not overload the sides with brackets and trays. Accessories can snag on fenders, doors, and workpieces when you move around a vehicle. Keep the widest parts of the cart near the base, and leave one side relatively clear for pushing.
A small fire-resistant work shelf can be useful for staging clamps or resting a torch, but it should not turn the cart into a welding table. Hot work near the gas bottle and machine calls for attention. Use a separate welding table when the job requires heavy clamping, hammering, or grinding.
Finish the Cart for Long-Term Service
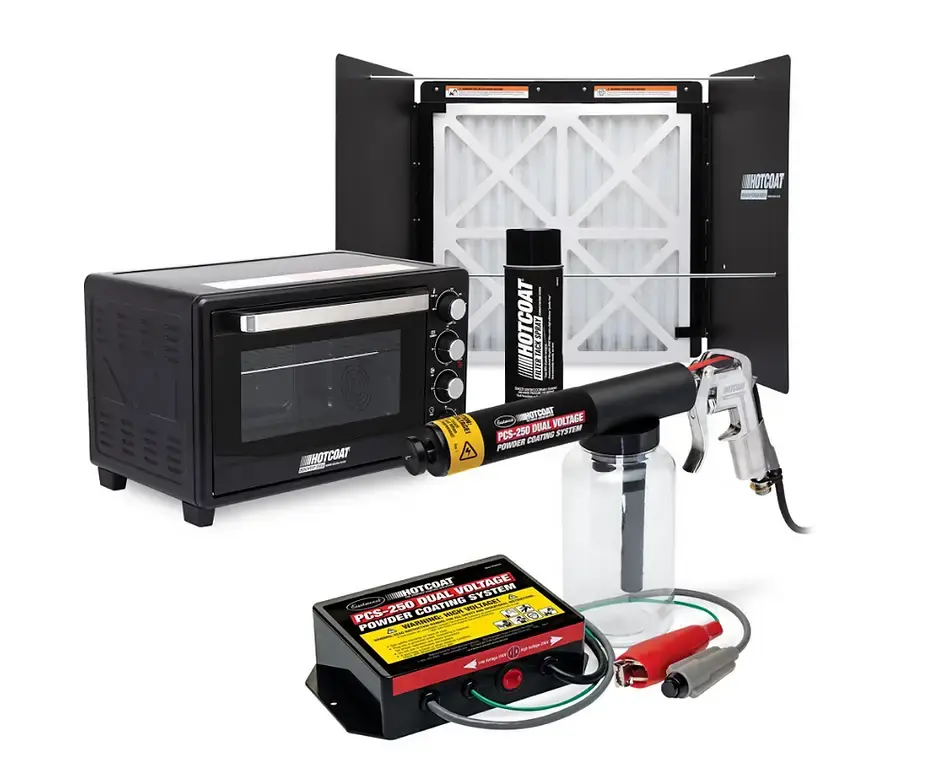
After final welding, remove sharp edges and clean off scale, oil, and grinding residue. A durable shop finish helps prevent surface rust and makes the cart easier to wipe down. Primer and a tough enamel topcoat are a practical choice for a garage-built cart. Powder coating is another strong option if you have access to the equipment and can coat the parts before final assembly.
Do not paint grounding contact points that need bare metal, and keep overspray away from wheel bearings, locks, and threaded hardware. Once the finish cures, install the welder, secure the bottle, route the leads, and test the cart with the equipment loaded. Push it through the same paths it will take around your shop.
A well-built cart should disappear into the workflow. When the machine rolls out easily, the cylinder stays secure, and every lead and consumable is where it belongs, you spend less time setting up and more time fixing rusted panels, building brackets, and making clean repairs.


Comments