
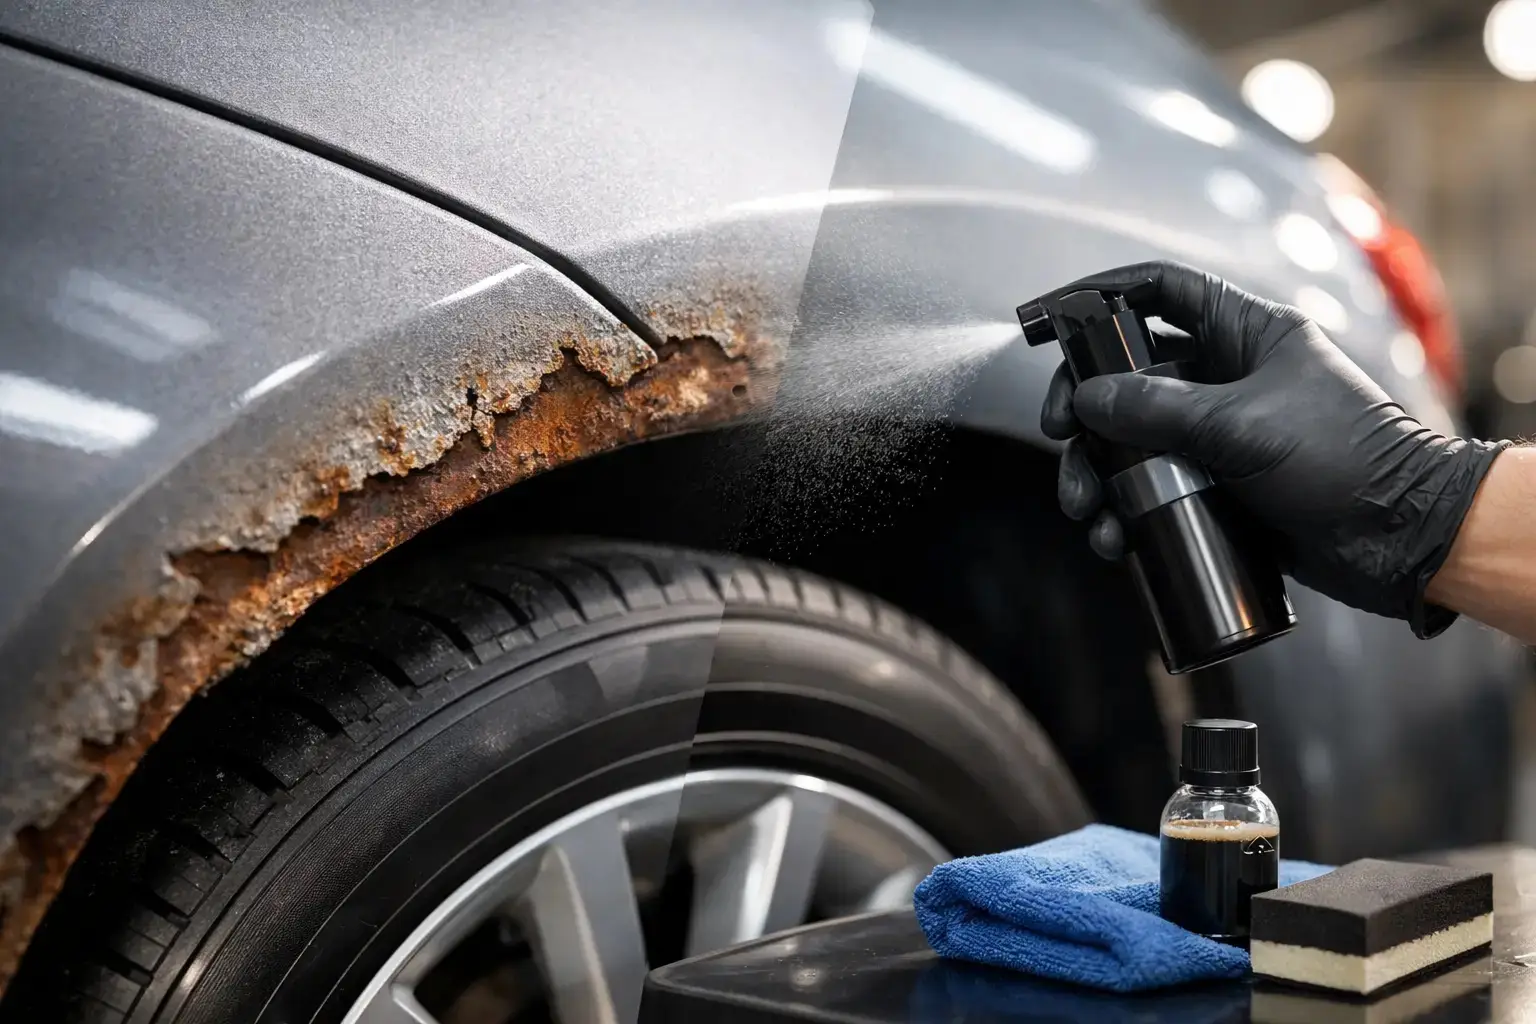
Rust Prevention for Restored Cars and Trucks

A clean-looking fender can hide a serious problem. Moisture works behind trim, inside seams, under carpet, and between overlapping panels long before rust breaks through the paint. Effective rust prevention is not one product sprayed over brown metal. It is a repair process that starts with honest inspection and ends with every exposed surface sealed against water, salt, and oxygen.
For a driver that sees rain, winter roads, or long periods in storage, corrosion control deserves the same planning as bodywork and paint. The right approach depends on the condition of the metal, where the vehicle is used, and whether the area will remain visible, coated, or enclosed.
Start With an Honest Rust Inspection
Before choosing a coating, determine what you are dealing with. Surface oxidation, pitted steel, perforated panels, and rust growing from a seam require different work. Treating them all the same is how a temporary repair becomes a paint failure a year or two later. https://www.eastwoodcanada.com/rust-system?currency=CAD
Surface rust is usually limited to the top layer of steel. Once paint and loose oxidation are removed, the metal may be solid and smooth enough to clean, treat, and prime. Pitted metal has deeper corrosion pockets. It can often be saved if the panel remains structurally sound, but every pit needs to be cleaned and stabilized before coating.
Perforation is different. If metal has become thin, soft, or full of holes, replacement or a properly welded patch is the repair. Coating over holes does not restore strength, and body filler over active corrosion only hides the issue for a while. Check the usual trouble spots carefully: rocker panels, wheel arches, lower doors, cab corners, floor pans, trunk drops, frame sections, suspension mounting points, and the backside of body panels.
Do not inspect only what is easy to see. Remove trim, splash shields, carpet, and wheel-well liners where practical. Use a bright work light and probe suspicious seams gently. The backside of a panel is often where corrosion began.
Rust Prevention Starts With Metal Preparation
Coatings perform only as well as the surface beneath them. Loose scale, old failing paint, grease, road film, and trapped moisture all compromise adhesion. The goal is not simply to make the panel look cleaner. The goal is to create a stable surface that can hold a coating system for years.
Mechanical removal comes first. A wire wheel, abrasive disc, sanding block, needle scaler, or media blasting can remove loose rust and failed material. The best tool depends on the area. A wire wheel is useful for seams and irregular shapes, while blasting is often the most thorough choice for brackets, frames, wheels, and parts that can be removed from the vehicle.
Avoid polishing rust smooth and calling it done. Bright high spots can make a panel look clean while corrosion remains deep in pits and seams. Keep working until scale is gone and the remaining metal is sound. For panels that will be painted, finish with an appropriate sanding profile so primer can bite properly.
After abrasion, remove dust and contamination with a dedicated surface cleaner. Gloves matter here. Bare hands leave oils on prepared steel, and fingerprints can show up later as adhesion problems. Work in manageable sections so cleaned metal is not left exposed long enough to flash rust in humid conditions.
When a Rust Treatment Makes Sense
A rust treatment is useful where light oxidation remains in pores, pits, and hard-to-reach areas after mechanical cleaning. It is not a substitute for removing loose rust, flaky scale, or failed old coatings. Think of it as a chemical assist for sound, prepared metal rather than a shortcut around preparation.
Follow the product directions closely, including dwell time, rinsing requirements, and whether the treated surface must be coated within a certain window. Some treatments leave a conversion layer that supports the next coating; others require additional cleaning before primer. Mixing products from different systems without checking compatibility can create adhesion issues that are difficult to diagnose later.
Choose the Right Coating System for the Area
https://www.eastwoodcanada.com/product-page/rust-encapsulator-plus-extreme-chassis-black-satin-frame-restoration-kit-98461?currency=CAD
There is no single best coating for every part of a vehicle. A visible exterior panel needs a finish-ready system. A frame needs impact resistance. A hidden cavity needs a coating that can creep into seams and remain flexible. Matching the material to the job is a major part of lasting rust prevention.
For bare steel that will receive bodywork and paint, an epoxy primer is commonly the foundation. It provides strong adhesion and a moisture-resistant base when applied over properly prepared metal. From there, body filler, primer surfacer, seam sealer, basecoat, and clearcoat can be added in the correct sequence for the paint system being used.
For chassis parts, suspension components, brackets, and underbody surfaces, use a durable corrosion-resistant coating designed for impact and chemical exposure. Road debris, brake dust, fuel, oil, and wash chemicals are hard on ordinary paint. If the part is heavily pitted, choose a system that can build film thickness without trapping contamination beneath it.
Seams deserve special attention. https://www.eastwoodcanada.com/product-page/eastwood-autobody-seam-sealer-cartridge-black?currency=CAD Factory lap joints hold moisture by design, especially around floor pans, wheel tubs, cowl areas, and trunk seams. After the metal is cleaned and primed as required, apply automotive seam sealer to recreate a continuous moisture barrier. Seal both sides of accessible seams whenever possible. A perfectly coated exterior face will not stop corrosion that begins on the hidden side. https://www.eastwoodcanada.com/product-page/eastwood-canada-brush-on-seam-sealer-quart-51657zp?currency=CAD
Protect the Areas Paint Cannot Reach
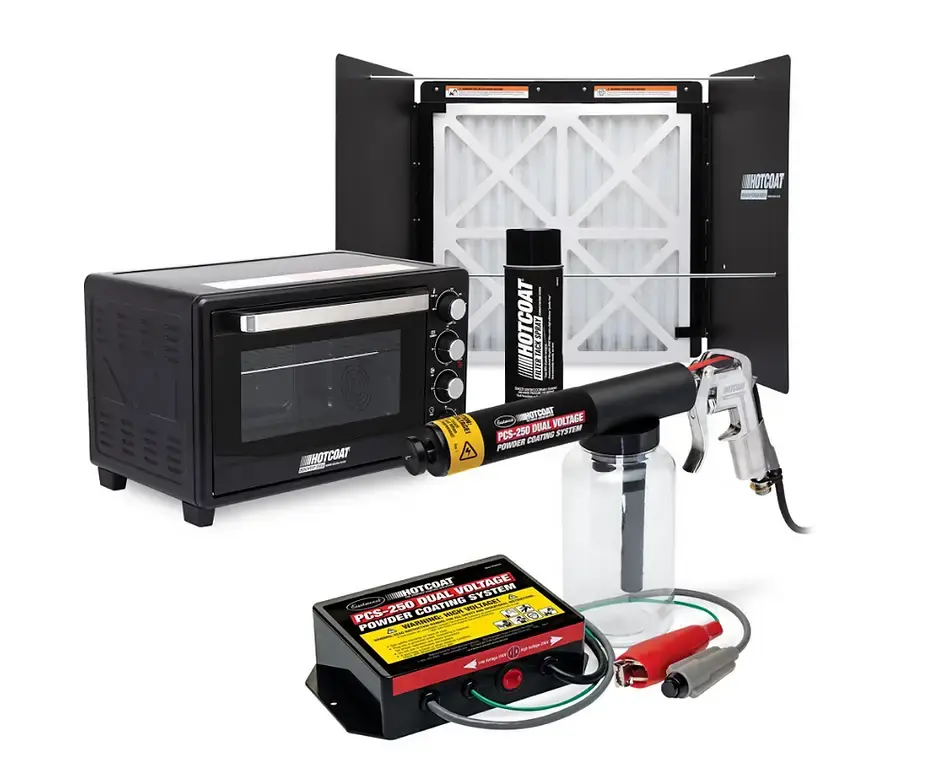
https://www.eastwoodcanada.com/product-page/auto-paints--paint-equipment--welding--rust-powder-coating--abrasive-blasti?currency=CAD
The most expensive rust repairs often begin inside closed sections. Rockers, doors, frame rails, crossmembers, hood braces, tailgates, and quarter panels may look excellent outside while corrosion grows internally. These areas need cavity protection after welding, priming, and paint work are complete.
A cavity wax or internal-frame coating applied through access holes and extension wands can coat enclosed surfaces, spot-weld flanges, and seams. The material should be able to reach into joints and retain some flexibility rather than becoming brittle. Use the existing drain holes where possible, and do not plug them with coating, seam sealer, or debris. Drainage is part of corrosion control.
Undercoating can also help in wheel wells and underbodies exposed to chips and spray, but it must go over a sound prepared surface. Spraying a thick rubberized layer over damp rust is one of the most common restoration mistakes. It can hide corrosion while allowing moisture to remain active underneath. Use underbody protection as the final shield, not as the first repair step.
Build Rust Prevention Into Your Repair Sequence
Good results come from planning the sequence before metal is cut or coatings are opened. If you weld in a patch panel, protect the backside before closing the repair whenever access allows. Once two panels are joined, the hidden flange may be impossible to coat completely.
A practical repair sequence is straightforward: remove compromised metal, fit and weld the repair, clean the welds and surrounding steel, apply the appropriate primer, seal exposed joints, finish the visible side, then apply cavity protection and underbody protection where needed. Allow each layer to cure according to its product instructions. Rushing recoating windows or trapping solvents between layers can undermine an otherwise careful job.
This is where restoration-specific systems earn their keep. Eastwood Canada supplies products for the full workflow, from rust treatment and primers to chassis coatings, seam sealers, and internal corrosion protection. Buying around the job instead of around a single can helps prevent incompatible layers and missed areas.
Keep a Finished Vehicle From Starting Over
A restored vehicle still needs maintenance. Washing road salt from wheel wells, frames, and lower body panels is basic protection, particularly after winter driving. Do not rely on a quick rinse around the rocker area. Flush the backs of wheel openings and any place dirt packs into seams.
Inspect the vehicle at least once a year, preferably before and after the wet season. Look for chipped paint, clogged drains, cracked seam sealer, blistering around moldings, and coating damage near jack points. Small repairs are manageable when caught early. Waiting until rust reaches the outside of a finished panel is when a touch-up turns into bodywork.
Storage conditions matter as much as coating choice. A dry, ventilated garage is better than a sealed damp space. Avoid storing a wet vehicle under a non-breathable cover, and keep it away from soil or standing moisture if it will sit for long periods. Even a well-protected underbody benefits from regular airflow and a clean, dry environment.
Treat every hidden seam, chip, and bare edge as a chance to stop corrosion before it becomes a repair. That mindset will protect the work you have already put into the vehicle and keep it ready for the next mile, show, or project day.


Comments