

Rust Encapsulator Plus 5 Gallon Safety Gray
- ERIC GIROUX
- 3 hours ago
- 5 min read

A five-gallon pail changes the way you plan a rust-control job. Rust Encapsulator Plus - 5 Gallon - Safety Gray is sized for builders who are coating more than a few brackets or a single floor patch. Think full frames, underbodies, truck beds, trailer chassis, shop-built equipment, and multiple restoration projects moving through the garage at once.
The payoff is straightforward: one compatible coating supply for large, repeatable coverage. The responsibility is just as straightforward. A large pail does not make surface preparation less important. It makes good planning, clean work habits, and proper application even more critical because there is more material, more surface area, and less room for inconsistent results.
When a 5-Gallon Rust Encapsulator Plus Pail Makes Sense
https://www.eastwoodcanada.com/rust-encapsulator-plus?currency=CAD
A five-gallon size is a practical choice when rust treatment is part of the overall build schedule rather than a small repair task. It can make sense for an independent shop handling several customer projects, a restorer working through a fleet of trucks, or a hobbyist coating a frame, suspension components, inner panels, and fabricated parts in the same finish system.
Safety gray is especially useful when you want a neutral, visible coating color during the restoration process. It helps create a consistent appearance across repaired areas and can make it easier to spot missed coverage, thin edges, and uncoated seams. On parts that will later receive another finish, gray can also provide a sensible, uniform starting point. Confirm the recommended topcoat process and recoat timing on the current product label before building the rest of your paint schedule around it.
The trade-off is storage and material management. A five-gallon pail is economical only if you have enough prepared work to keep the product moving and can store the container according to its instructions. Do not open a large container just to coat a handful of small parts if a smaller size better matches the job. Air exposure, contamination, and poor sealing can waste good material.
Rust Encapsulator Plus 5 Gallon Safety Gray Starts With Prep
https://www.eastwoodcanada.com/product-page/rust-encapsulator-plus-5-gallon-safety-gray74211zp?currency=CAD
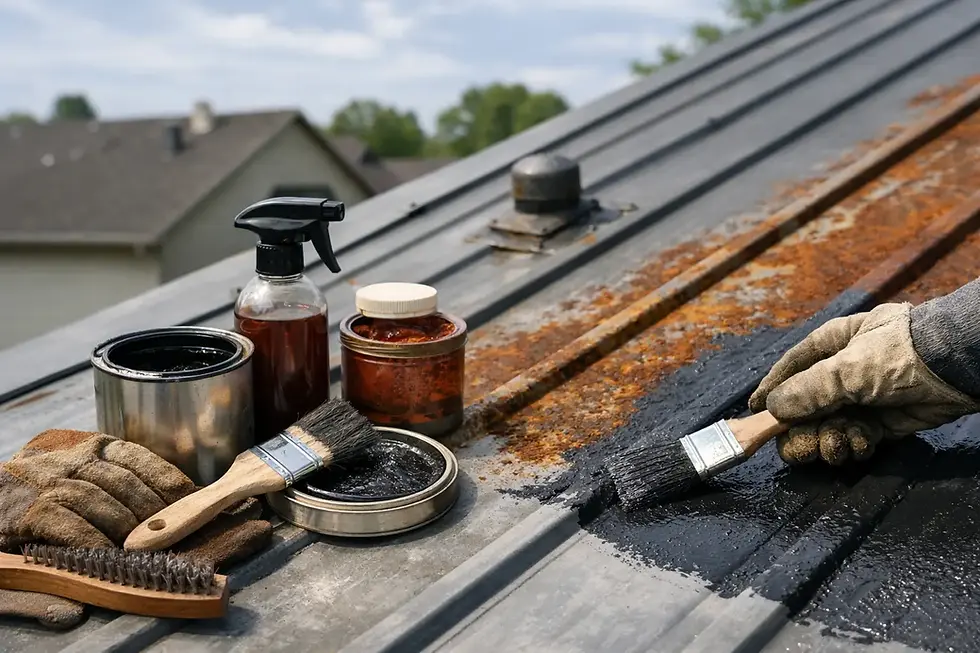
Rust encapsulating coatings are designed to work over properly prepared rusty metal, not loose scale, grease, old failing paint, or moisture trapped in seams. That distinction matters on every project, but it matters more on a chassis or underbody where failure can be hidden until the vehicle is back on the road.
Start by removing dirt, road film, oil, and wax with the appropriate cleaner. Then mechanically remove loose rust, flaking coatings, and heavy scale. Wire wheels, abrasive discs, needle scalers, sanding, and blasting all have a place depending on the panel, the access available, and the level of corrosion. The goal is a solid, stable surface with no weak material left underneath the coating.
Pay close attention to places where corrosion starts again: lap joints, pinch welds, boxed sections, body mounts, spring perches, frame seams, and the back sides of patches. If a seam still contains loose debris or active scale, coating the face of it is not a repair. Clean it out as far as access allows, address drainage issues, and use the right seam-sealing and cavity-protection steps where the restoration plan calls for them.
Bare steel, previously painted areas, and heavily rusted surfaces may each need a different approach. Follow the product directions for surface profile, cleaning, thinning if permitted, application method, coverage, and cure time. Product data and label instructions should always take priority over general shop advice.
Set Up the Work Before Opening the Pail
Large coating jobs stay cleaner when the setup is handled first. Have your spray equipment, brushes or rollers, mixing tools, strainers, measuring containers, protective equipment, and cleanup materials ready before opening the pail. Work in a clean, ventilated space with a stable temperature and humidity level that falls within the coating's stated application range.
Stir the product thoroughly and consistently, reaching material that may have settled at the bottom of the container. Avoid introducing dirt, grinding dust, or used solvent into the main pail. A smart shop habit is to transfer only the amount needed for the current session into a clean secondary container, then promptly reseal the original container. This keeps the bulk supply cleaner and helps you track what is actually being used.
If spraying, set aside a test panel or an inconspicuous area to confirm your pattern and film build before committing to a large panel. Too dry a spray pattern can leave poor coverage. Too heavy an application can create runs, slow curing, or uneven results. Brush application can be a good fit for tight seams, brackets, and hard-to-reach structure, while spraying is usually more efficient on broad, open surfaces. The right method depends on the part geometry and the finish standard you need.
Build Coverage Into the Restoration Plan
A chassis coating job should be approached in sections. Divide the vehicle or assembly into logical zones, such as front suspension area, center frame rails, rear crossmember, wheelhouses, and underside panels. Work from difficult-to-reach areas toward the more open surfaces. That sequence reduces the chance of leaning over freshly coated parts or missing edges behind lines and brackets.
Keep an eye on welds, sharp edges, fastener holes, flanges, and transition areas between old and repaired metal. These are common thin-film locations. A deliberate first pass around details, followed by coverage on broad panels, is often more reliable than trying to cover everything with one quick heavy coat.
Safety gray can help with quality control here. Under adequate lighting, a consistent color makes it easier to inspect the job from several angles. Look for holidays, dry spray, shadowed areas, and missed seam edges before the coating reaches the point where corrections become more difficult. On a driver-quality build, that inspection is still worth the time. On a restoration intended for regular road use, it is non-negotiable.
Know What the Coating Can and Cannot Fix
https://www.eastwoodcanada.com/product-page/eastwood-rust-encapsulator-plus-safety-gray-quart?currency=CAD
Rust encapsulation is a coating step, not a substitute for sound metalwork. A panel with perforation, soft structure, expanding seams, or rusted-through mounting points needs repair or replacement. Coating over compromised metal may improve the appearance temporarily, but it does not restore strength or stop water from reaching the backside of the problem.
Likewise, a well-coated frame can still corrode if water, salt, and dirt are allowed to collect inside boxed rails or behind splash shields. Drainage, seam treatment, cavity protection, wheelhouse protection, and regular washing all work together. The best results come from treating corrosion control as a system rather than expecting one coating to handle every condition on its own.
For Canadian vehicles, that system matters even more. Road salt, wet spring conditions, gravel impact, and long storage periods can all challenge an underbody finish. Consider where the vehicle will be driven and how it will be maintained. A fair-weather show car, a weekend cruiser, a work truck, and a winter-driven vehicle do not place the same demands on the finished coating.
Get More Value From the Five-Gallon Size
https://www.eastwoodcanada.com/product-page/eastwood-rust-encapsulator-plus-safety-gray-quart?currency=CAD
The value of Rust Encapsulator Plus in a five-gallon safety gray pail comes from repeatability. Use it when you can standardize preparation, application, and inspection across enough parts to justify the volume. Label secondary containers, record the products used on each project, and keep your application area clean. Those small discipline points help produce a finish that looks consistent now and is easier to maintain later.
Plan the coating work around the rest of the build, not as an afterthought. When the metal is sound, the surfaces are properly prepared, and every seam gets the attention it deserves, a large-format rust coating becomes one of the most useful supplies in a serious restoration shop.


Comments